
Option 1: Manually Share Kaltura/Zoom Recordings in Canvas
Note: You can only manually add a Zoom recording in Canvas after it has finished processing.
Add a Video to a Module
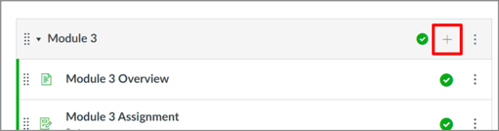
- In the module where you would like to add the video, click the + on the top right of the module.
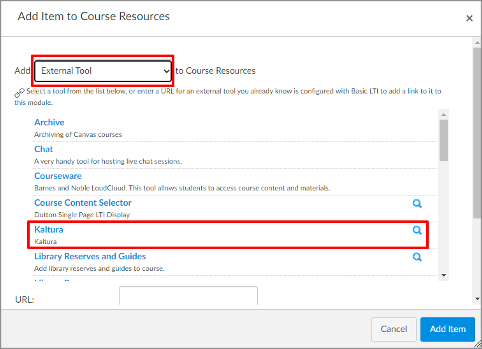
- In the window that pops up, click the box next to Add and choose External Tool and then choose Kaltura from the list.
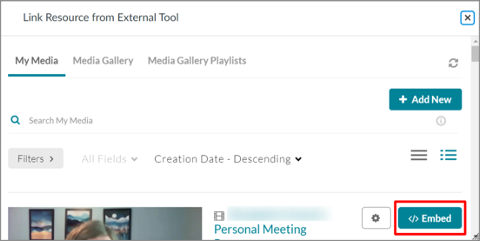
- In the window that pops up, scroll through or search your media. On the video you would like to embed, click the </> Embed button.
- On the next screen, click the Add Item button and the video will be added to your module.
Embed a Video on a Page (or anywhere the Rich Content Editor is available)
- Open the Canvas Page where you would like to embed the video and click Edit.
- Click the Plug (Apps) icon.
- Click View All and then click Embed Kaltura Media. (The next time you click the Apps icon, Embed Kaltura Media will be displayed on the dropdown menu)
- Scroll through or search your media to find the video you would like to embed.
- On the video you would like to embed, click the </> Embed button and the video will be inserted into your page. [see screenshot from step 3 above]
- Click Save.
Option 2: Automatically Share Zoom Recordings in Canvas
Automation Setup
- In Canvas, enable the Zoom integration and the Media Gallery to be displayed on the Course Navigation Menu (Canvas: How to Incorporate Learning Tool Integrations (LTIs) in Your Course).
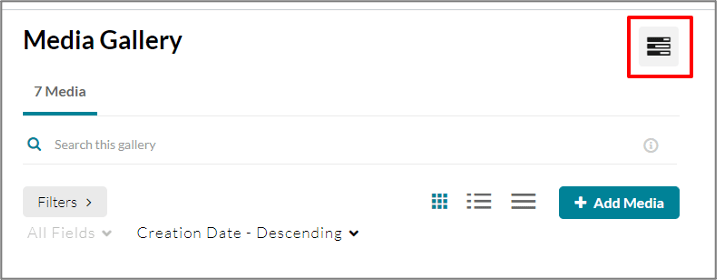
- In Canvas, click Media Gallery on the Course Navigation Menu. Click the Channel Actions button and choose Edit.
- Uncheck the box to Moderate content (media will not appear in media gallery until approved by the gallery manager).
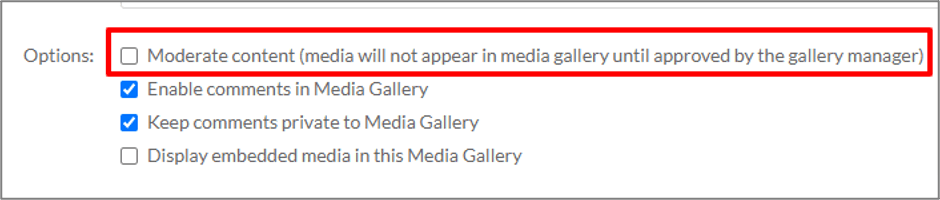
- Click Save.
- Schedule the Zoom meetings for the course within the Canvas integration (Canvas: How to Use the Zoom Learning Tool to Schedule and Start a Meeting).
- At the beginning of class, start the Zoom meeting from Canvas (Canvas: How to Use the Zoom Learning Tool to Schedule and Start a Meeting).
- The class recordings will be automatically added to the Media Gallery.
Keep in Mind for Automation
- You must start the meeting within the Canvas course. Meetings started from the Zoom app or by clicking a link will not be automatically added to the course.
- Media Gallery must be turned on before the Zoom session is recorded or the video will not be automatically added to the course.
- Closed Captioning will be automatically transferred with the video.
- Zoom chat transcripts will be accessible through a file link in the Media Gallery.